Using the Service Tester
This Article provides a quick introduction to the Remoting Service Tester, a utility provided with both editions of the Remoting SDK (.NET and Delphi).
The Service Tester allows you to easily stress-test your Remoting SDK servers in high-load scenarios to see, for example, how various communication channels affect your servers' performance and your network's load. You can also generate test reports, save and reuse test scenarios, or embed the test into your QA process.
Running the Service Tester
You can start the Service Tester directly from within the IDE (Visual Studio or Delphi) by opening the Remoting SDK|Service Tester menu, or you can launch it from the Start Menu.
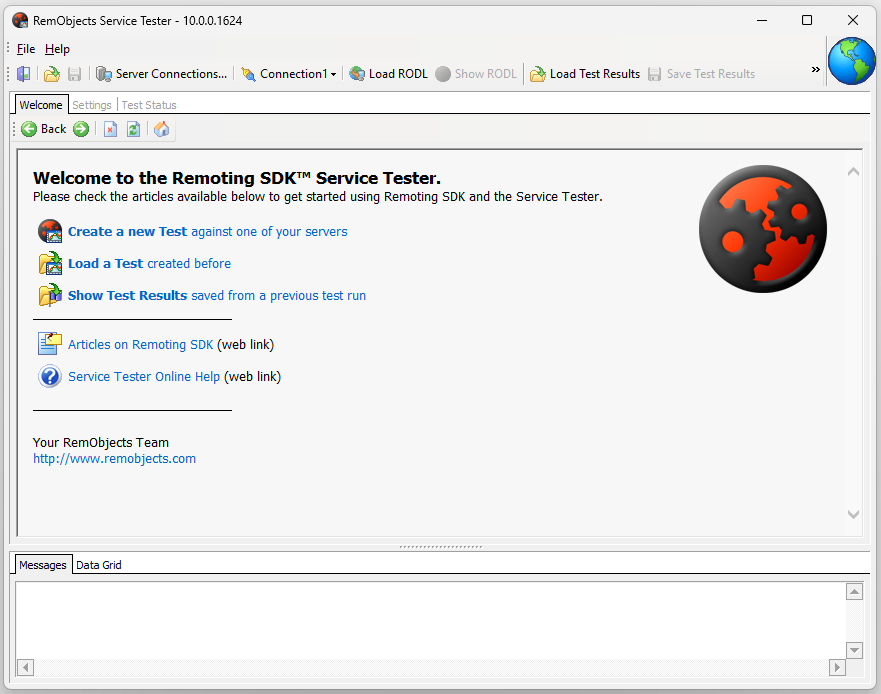
After starting the Service Tester, you will be presented with a view selection window:
Note: for Visual Studio, there's another option. Selecting the File|Add Item menu item adds a new .roTest file to the project. When first opening (double-click in Solution Explorer), this launches the Wizard; for subsequent openings, it just launches the Service Tester with the test.
The Service Tester provides a Create a new Test wizard that guides you through the steps of creating a new test. For the sake of this article we'll guide you through the process "the hard way", in order to help you better understand how things work. Once you become familiar with these steps, you can use the wizard for convenience.
Defining Connections
The Service Tester uses predefined "Connections" to talk to your server. As you might recall from building your Remoting SDK applications, these connections consist of a Channel and a Message component.
To define a new connection, click the "Server Connections" button in the toolbar, or press Alt+C. This will present you with the Server Connections dialog shown below:
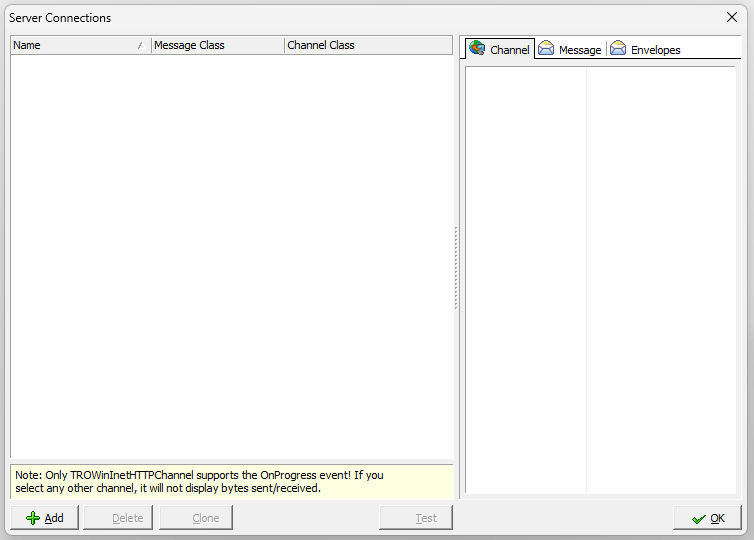
Click the Add button to create a new connection. Once the new Connection appears in the list, you can rename it, or choose a Message and Channel class in the grid. Let's rename this connection to Local MegaDemo. Since we're going to test the MegaDemo Server application on our local machine, select the BinMessage and WinInetHttpClientChannel:
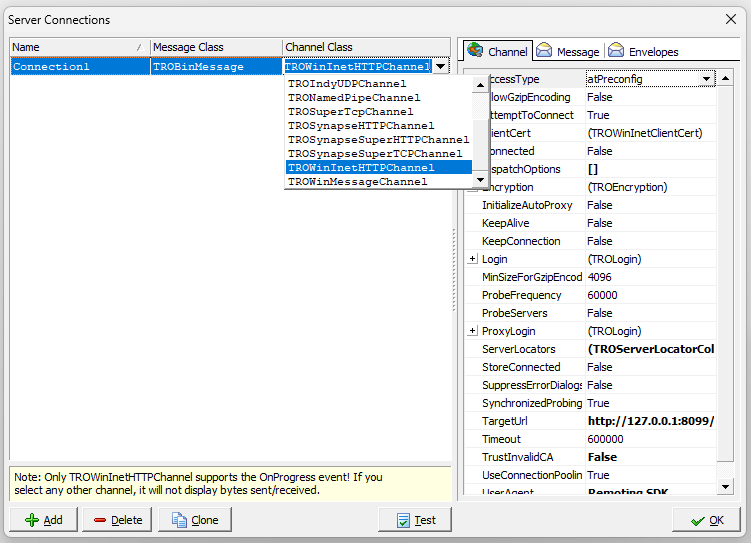
As you can see, most of the channels that you know are available for use (including the new Super Channels).
Once you have selected a Channel and a Message, you will see their properties appear on the right-hand side of the dialog.
For now, we'll leave all the properties intact, except TargetURL, which we'll change to point to http://localhost:8099/bin, the url for our MegaDemo.
At this time, it's probably a good idea to start the MegaDemo Server and activate its HTTP and TCP options. Once the MegaServer is running, you can click "Test" to see if the connection works. If all is working fine, you should see a MessageBox displaying "Library NewLibrary retrieved successfully".
If you see an error message instead, make sure that the server is actually running and is activated, and double-check the properties of your channel and message.
Click Ok to close the Server Connections dialog. You'll notice that the "Local MegaDemo" connection already is selected in the toolbar:

Setting up the Test
Now that everything is set, we can start communicating with our server. First, press the Load RODL button in the toolbar, or press Alt+L. This will cause the Service Tester to connect to the Server, retrieve the RODL file and compile the interface for it. You should see the details if in the Message pane at the bottom of the Service Tester:

Once this process is completed successfully, the Service Tester will activate the Settings tab and automatically open the Service Name combo box. Select NewService, which is the only service defined by the Mega Demo, then Open the Operation combo box, and select Sum.
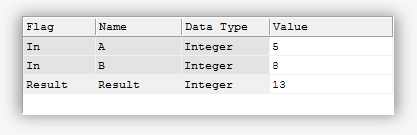
The Parameters grid below will automatically populate with the parameters of the Sum method (two integers called A and B, in this case). You can fill in the rest of the test values:
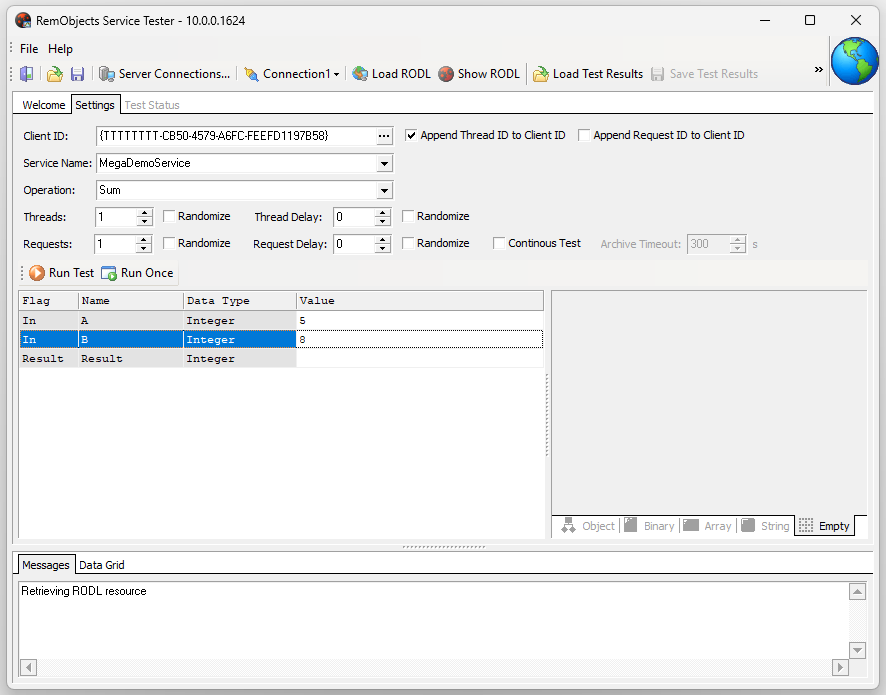
Once you're ready to run your test, click Run Once. The Service Tester will dispatch the call to the server where the Sum method will be executed and then display the result value returned from the server:
Now that we've seen our call run successfully, it's time to stress test our server a bit, to see how it will cope with a high load of requests. Above the Parameters grid, you will find several edit boxes and check boxes that allow you to tweak the stress test. First, you can specify how many threads you want to run simultaneously against the server. Let's put a 10 here. Next, you can select how many requests each of these threads should execute. Because the Sum operation is very fast, and we're testing against the local machine, let's pick a high number here and specify 1000 requests to be executed.

When you click Run Test or press Alt+R, the Service Tester will launch 10 background threads, and each thread will run 1000 consecutive calls to the server's Sum method. The Service Tester will also activate the Test Status page, which will show you a live update of the test in progress, including the percentage of completed requests for each thread, and several graphs that illustrate the test through-put:
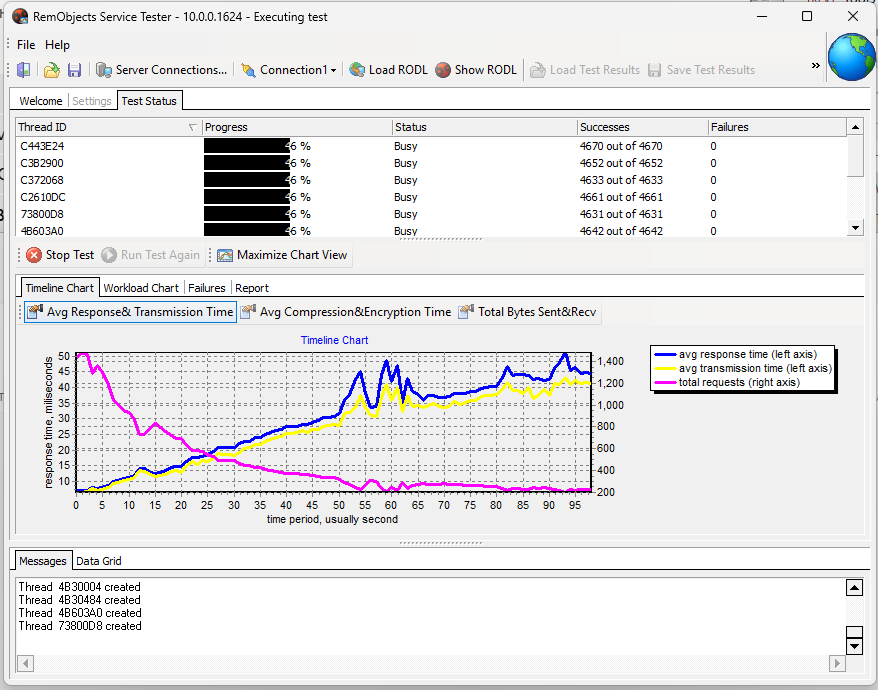
Once the test is completed, you will also get a complete text report on the Report sub-page.
Complex Types
In addition to simple types such as integers and strings, Service Tester also allows you to test service methods that expect or return more complex types, such as Structs, Arrays or Binaries.
To see how this works, let's go back to the Settings tab and select the EchoPerson operation. You'll see that the Parameters grid is filled with the new parameters that match the definition of EchoPerson, and that these are both of type "TPerson".
If you select the aPerson parameter, you will see an Object Inspector type grid appear on the right-hand side, where you can edit the individual properties of the TPerson parameter:
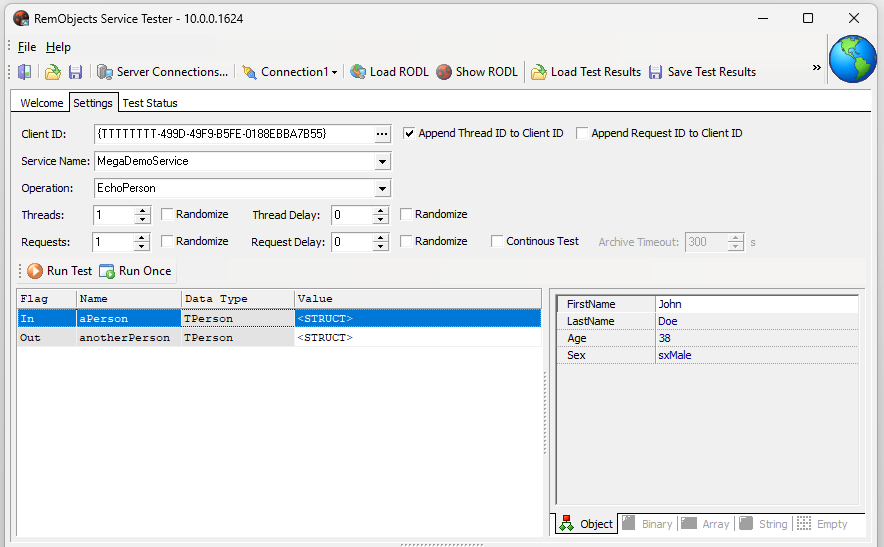
In a similar way, after executing your request by clicking Run Once or running a full test run, you can inspect the properties of the resulting anotherPerson Out parameter.
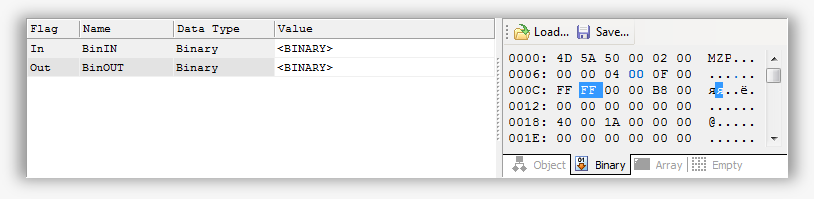
On the same line, specific editors are available for arrays (i.e. if you select TestStringArray) or binary types (i.e. if you select EchoBinary):
Additional Features
Last but not least, let's highlight some additional features of the Service Tester.
First of all, you can save any Test settings that you have created as .roTest files, for later reuse. This allows you to create a collection of tests for your server that can be integrated, for instance, to build an extensive test suite to integrate into your QA cycle and regression testing.
Also, you can save the result of any specific test as .roTestResult and later review it by simply double-clicking on the file in explorer. This allows you to compare new tests against results from previous test runs - e.g. to detect newly introduced bottlenecks or confirm performance improvements.
If you're testing Data Abstract server applications with the Service Tester, the Data Grid tab at the bottom will allow you to inspect the Data Abstract datasets that are contained in the Binary types received.